Table of Content
▼Tubeless and tube tyre punctures rank among the most common roadside problems riders face on Indian roads, yet in 2026, most two-wheeler owners still don't know how to fix either type without heading straight to a repair shop.
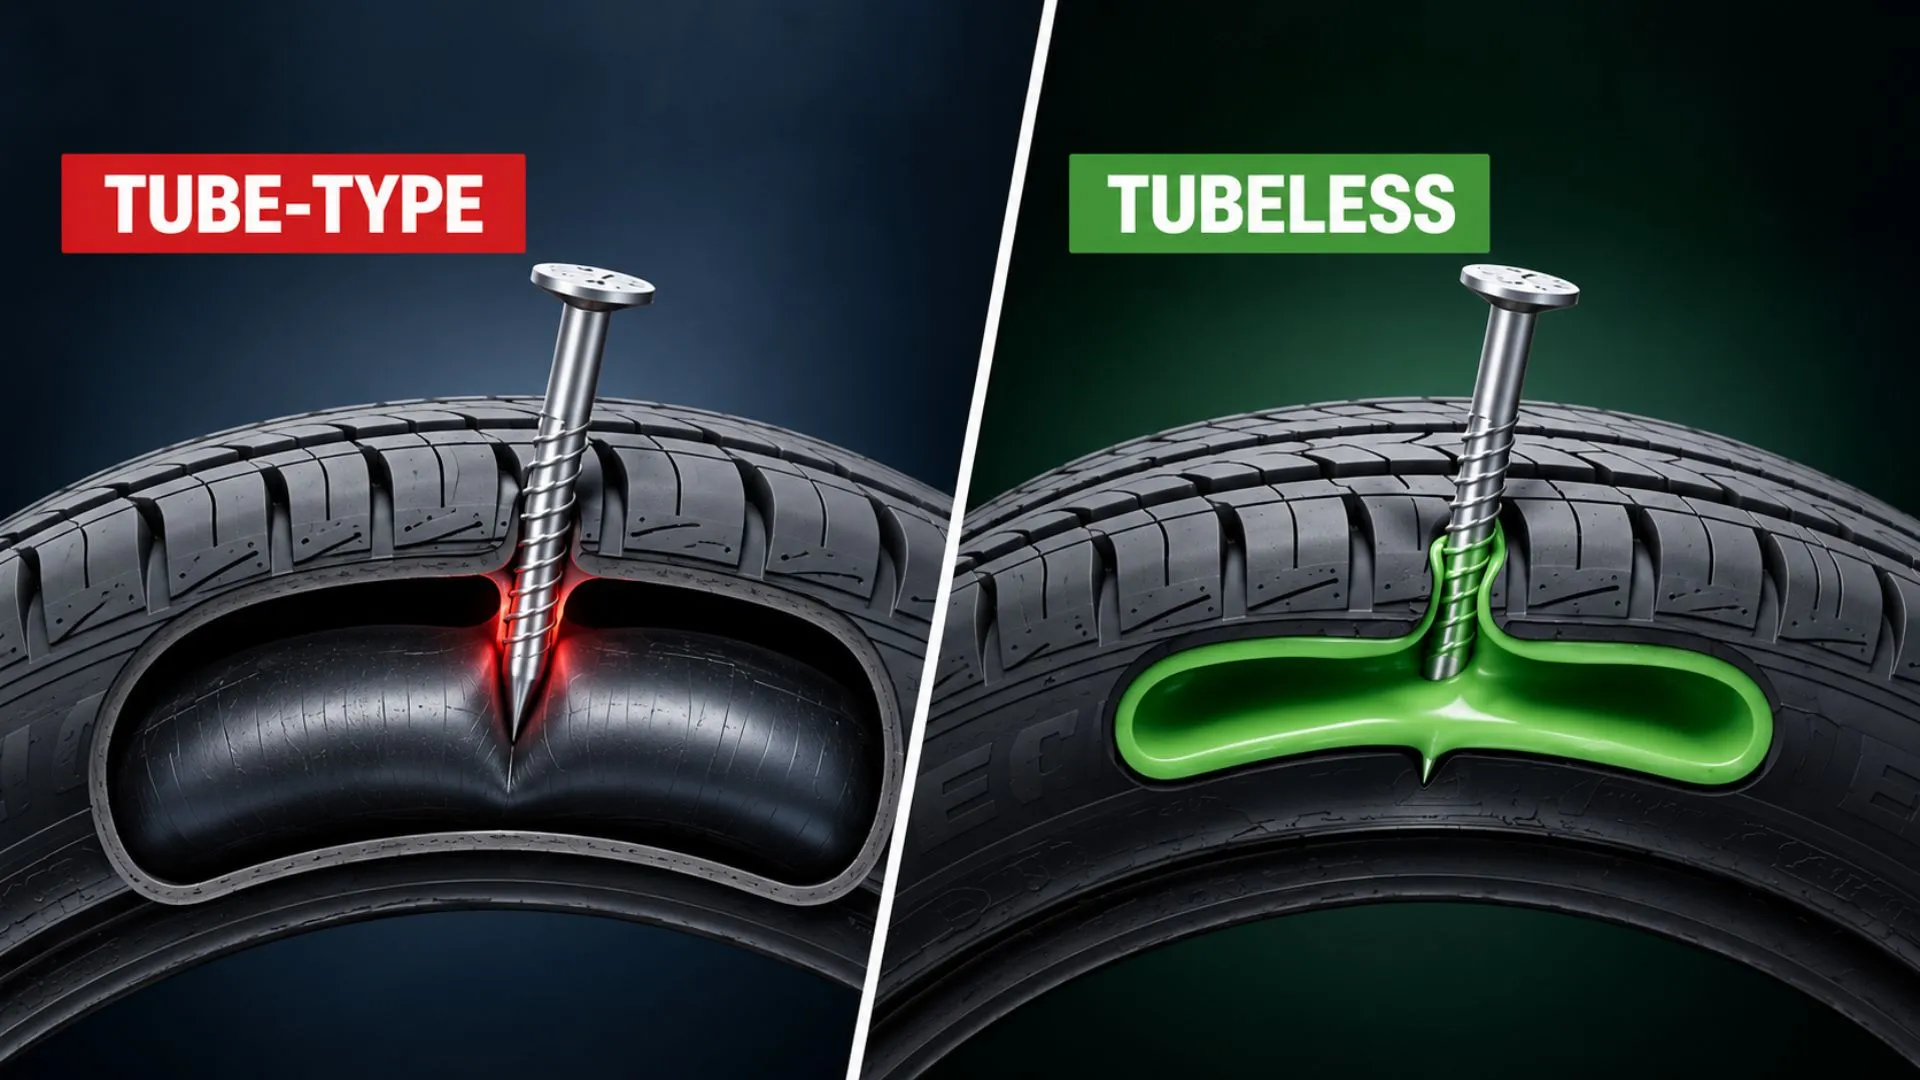
Both types of bikes and scooter tires fall into one category or the other, and the repair processes for each one are quite different. A tubeless tire has an airtight lining that is part of the tire’s casing, while a tube-type tire has a rubber tube inside it that keeps the air in. It is this difference in structure that makes the repair of one very quick but for the other you would need to take off the wheel before repairing it.
This guide will provide details on the requirements for conducting each repair process correctly, how to identify both types, what tools are needed for the repair procedures, and what else is required to carry out either of the repairs correctly.
What Makes Tubeless and Tube Tyre Punctures Different
Understanding why punctures in these two types of tyres would change the repair method you would use:
- A tubeless tyre puncture provides time for the rider to reach a safe place after being punctured because of the slow escape of air through the puncture.
- On the other hand, after a tube-type tyre is punctured, air escapes quickly through the break in the tube.
- Tube-type tyres demand full wheel removal and tyre disassembly, a process that takes considerably longer even for an experienced rider.
Also Read: DPF Cars: Meaning, Working, Regeneration & Cleaning Guide
Repairing a Tubeless Tyre Puncture
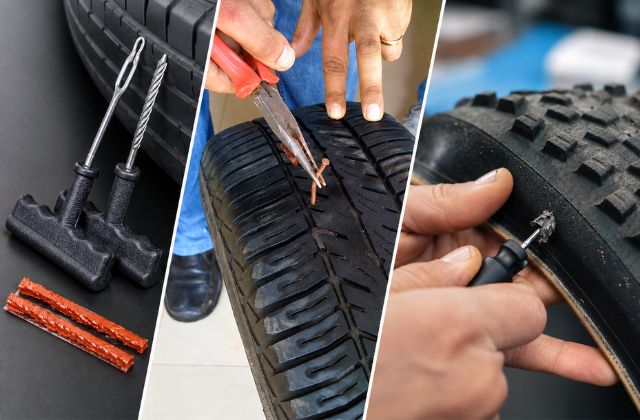
Most manufacturers now equip their motorcycles and scooters with tubeless tyres, largely because they're far easier to mend than tube-type tyres. A tubeless tyre can often be ridden for a short distance even after being punctured, but it's important to get it fixed as soon as possible to prevent further damage to the tyre and rim.
Tools You Need
- A pair of pliers
- A smoothening tool
- Puncture repair strips
- A puncture strip insertion tool
- A sharp knife or blade
Step-by-Step Process
- Locate the puncture. Inspect the tyre for a nail, screw, or sharp stone that has pierced the rubber. Listen for a hissing sound, or spray soapy water on the tyre to spot bubbles forming at the leak point.
- Remove the foreign object. Use the pliers to carefully pull out whatever caused the puncture, along with any debris stuck in the hole.
- Prepare the hole. Use the spiral or reaming tool from the kit to clean and slightly widen the puncture channel.
- Insert the puncture strip. Thread a puncture repair strip through the insertion tool, push it into the puncture, and gradually pull out the smoothening tool as you insert the strip until about a millimetre remains above the tyre surface.
- Trim the excess. Use the sharp knife or blade to cut off the extra strip sticking out, leaving it roughly flush with the tyre.
- Inflate and check. Inflate the tyre to the recommended pressure and check for air leaks around the repair area, using soapy water if needed.
Repairing a Tube-Type Tyre Puncture
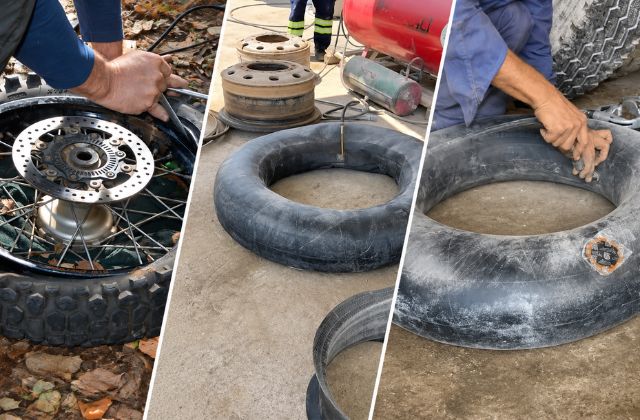
In comparison to a tubeless setup, fixing a puncture on a tube tire is a more complicated process, as the wheel has to be removed for access to the tube. Although it can be cumbersome for someone who has not gone through the process before, it is quite useful to know, especially while going on long rides where repair shops are not always within easy reach.
Tools You Need
- Wheel nut spanner
- Tyre iron
- Pliers
- Chalk
- File
- Rubber patch
- Adhesive (Fevikwik or similar rubber solution)
- A few bricks
- Foot pump
- Spare tube (recommended)
Step-by-Step Process
- Find the cause of the puncture. Look for cuts on the outer surface of the tyre. If there are no cuts on it, the punctured may have caused a tear in the tube.
- Dismantle the wheel. Locate and unscrew the wheel nut and then hit the axle bolt to dislodge the wheel. It is best to use bricks to keep the frame stable for motorcycles but it is not necessary for scooters as they have multiple wheel nuts.
- Remove the tyre off the rim. To take the tube out, use a tyre iron to lift the tyre bead from the rim.
- Find the puncture in the tube. Slightly inflate the tube in order to look for bubbles underwater.
- Get the area ready. Use the chalk to mark the punctured area, and then work the file over the area around it so that the adhesive can set well.
- Put the patch on. Spread a layer of rubber adhesive on the roughened area, allow it to become tacky, and put the rubber patch on the punctured area.
- Reassemble the wheel. Position the valve through the wheel and place the tube back to the tyre with great care.
- Place the tyre on the wheel rim. Employ the tyre iron to place the tyre back on the rim, making sure that the tube does not get stuck in the rim bead and edge.
- Reinstall the wheel. Attach the wheel back on the bicycle or scooter, ensuring that you secure it well.
- Inflate the tyre and check for leaks. Inflate the wheel to the right pressure with the pump. Check the repaired area for leaks before riding.
Also Read: Car Modification Parts in India 2026: Ultimate Guide
Tubeless vs. Tube Tyre Puncture Repair Comparison
|
Aspect |
Tubeless Tyre |
Tube-Type Tyre |
|---|---|---|
|
Wheel removal required |
No |
Yes |
|
Time required |
Faster, roadside-friendly |
Longer, more involved |
|
Tools needed |
Compact repair kit |
Multiple tools, spare tube recommended |
|
Rideable after puncture |
Yes, for a short distance |
Generally not safe to ride far |
|
Air loss speed |
Gradual |
Faster once punctured |
|
Skill level |
Beginner-friendly |
Moderate, needs some practice |
Tips to Avoid Frequent Punctures
- Check the air pressure of tyres on a regular basis; under-inflation of tyre can expose them to punctures from sharp objects
- Evaluate the depth of tread and change out the old ones before they lose their thickness
- Shun going through visible dirt, glass, or construction sites wherever feasible
- Carry along a small puncture kit or a foot pump when travelling long distances
- Conduct checks for any objects that may have found their way inside tyres when taking vehicle for regular servicing, such as small nails that may take weeks to be visible
Conclusion
If you're facing flat tubeless tyres or tube tyres, knowing how to fix them can definitely help you in India. Tubeless tyres are undeniably easier to fix because they don't have to be taken off the wheel to do so; hence repairs can be done quickly and with ease. Tube tyres, however, do require more hard work and special tools, but the process becomes easier with practice. Carrying a basic repair kit and having knowledge of the usual process can reduce the need for outside help.
Frequently Asked Questions
Deepika Chauhan
Auto Care Specialist & Vehicle Maintenance Advisor Deepika Chauhan is a car care expert with 8+ years of experience in authorized service centers and independent garages. Her articles focus on DIY maintenance, service schedules, and tips that help car owners keep their vehicles in top condition.